Yes, you read that correctly. This post is about hands on reading. It is possible! I love to read and a great way to help inspire your children to enjoy reading is by making it totally awesome.
The Wizard of Oz

"Because if you do not wear glasses the brightness and glory of the Emerald City would blind you." He opened a box filled with green tinted glasses of all sizes and shapes. He fitted them all with a pair; even Toto. -Wizard of Oz
As we were reading Wizard of Oz I was doing my usual 'print out a picture of the characters for J to color as we read' routine when I came across this. It was a light bulb moment for me. I can make reading hands on? Wow.....
I came across this and thought it would be great. Visual plus hands on! What a fantastic way to retell stories! Now we use the 'Yellow Brick Road Method' after all our stories.

There are tons of different ways to do this if 'Yellow Brick Road' is not for you or if, like us, you thrive on variety. Here are some other ideas:
Hands on reading ideas galore!


Instead write questions like: Who was your favorite character and why? Are you like him/her? How? What is the setting? Would you like to be in this story for real? Describe the villain. What do you think will happen next? How does _________ make you feel?

You may also like this.
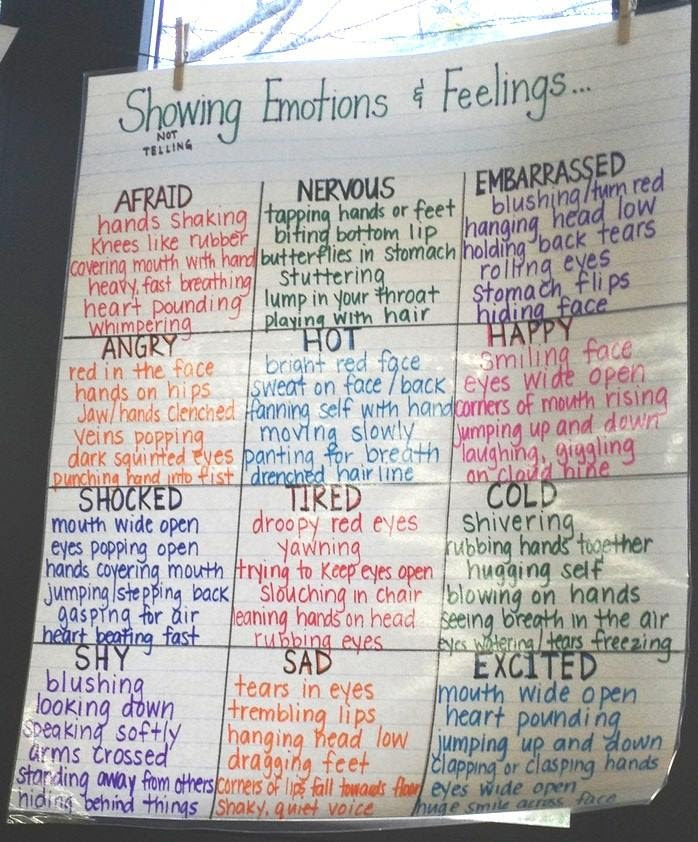
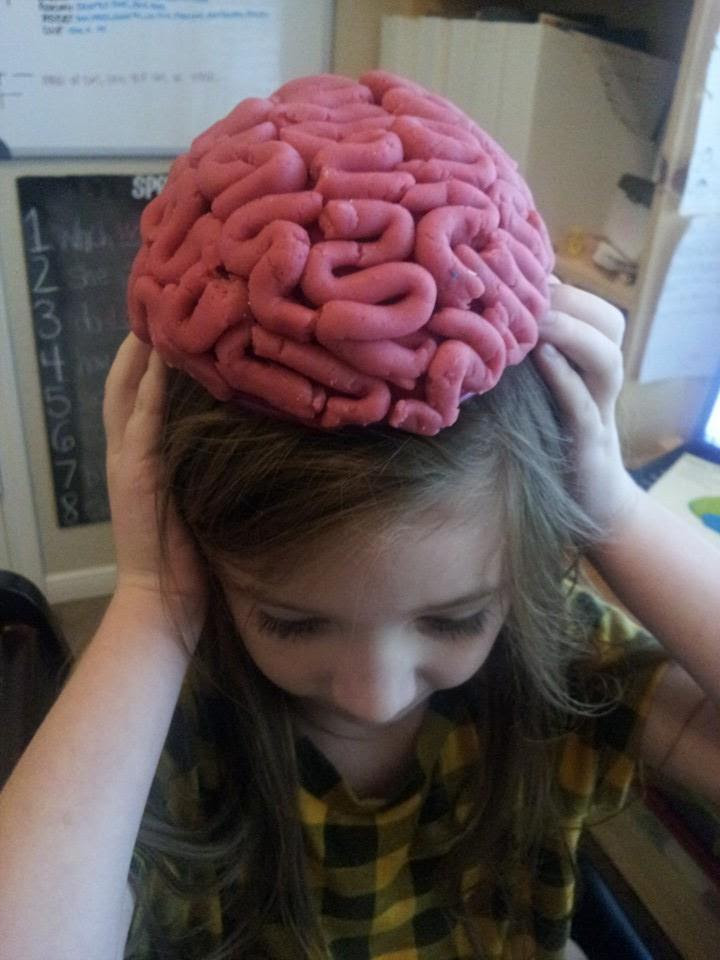
I saw this recent post that focused on emotions. Click to view.

What I would do with a retelling rope is have a pre-knotted rope like you see above. Have children draw pictures to represent the knots. For example, draw or color a printed picture of a forest and then tape it to that area of the knot. You could use ribbon and Velcro if that's what you have on hand.
James and the Giant Peach
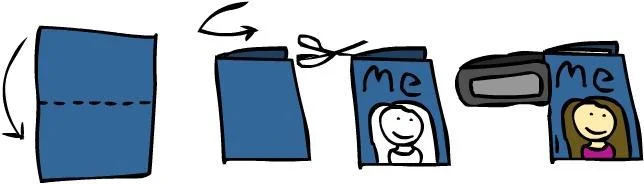
For this book I chose to focus on each character. As you can see we wrote about each one as they were introduced in the book. Then I printed out pictures via google search. Then I drew some and J drew some and she colored them in. It was easy.
I have a friend who lets her kids pick out one 'topic' to listen for and highlight as they have family scripture study. One son chose food. Every time food is mentioned as they read he highlights it in green. Another chose animals. Any time an animal is talked about, it's highlighted in orange. Older children may choose harder concepts like service or miracles.


You may be surprised to find how often books talk about food. This is a great way to incorporate hands on learning in reading! Plus after you have made it, let the kids eat while you read. I find that's one of the best times to read to kids.
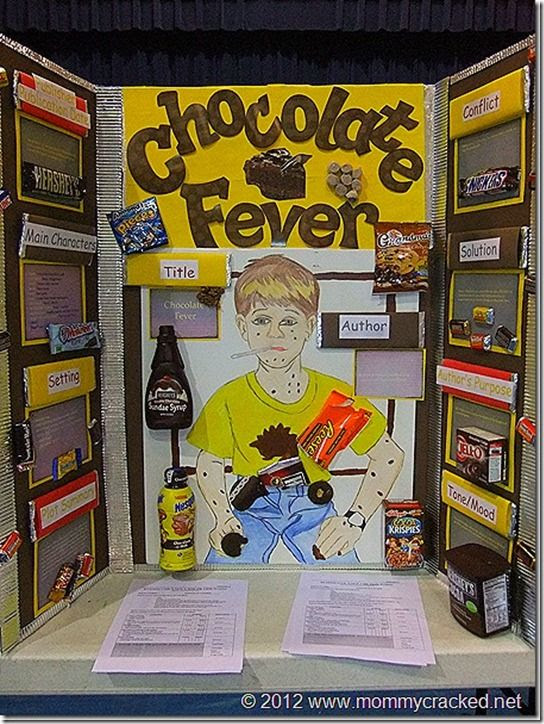
Host a Reading Fair
I am actually throwing one of these shin digs for my home school group at the end of the summer to encourage summer reading.
Check your local library to reserve free rooms for your event.
Let me know if you do it!
Follow this link to help you get started.
As always, I leave you with a quote: